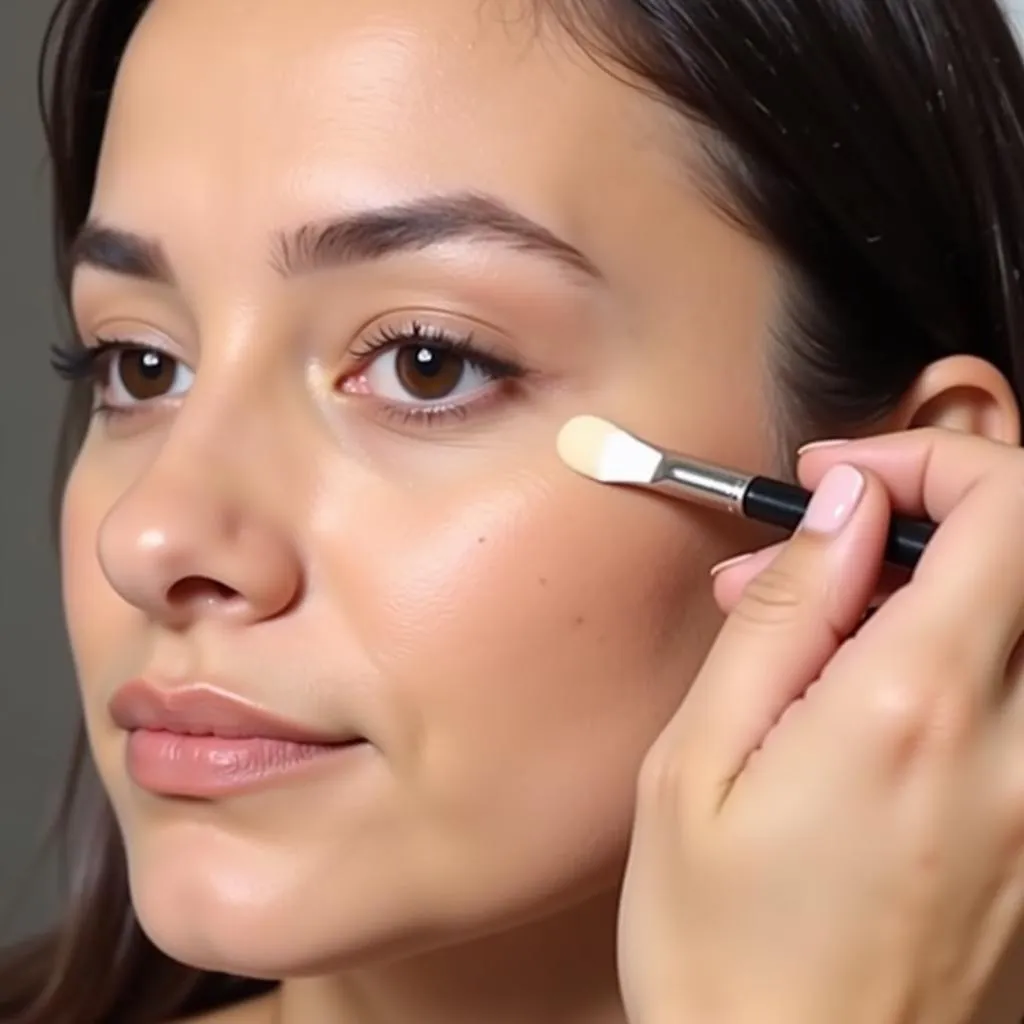
Applying makeup can be an art form, and mastering techniques like highlight, contour, bronzer, and concealer can significantly enhance your features. Whether you’re aiming for a natural everyday look or a more dramatic transformation, understanding how to use these products effectively is key.
Understanding the Basics: Highlight, Contour, Bronzer, and Concealer
Before diving into the application process, let’s break down the purpose of each product:
- Highlight: As the name suggests, highlighter accentuates specific areas by reflecting light. It adds dimension, lifts features, and creates a radiant glow.
- Contour: Contouring involves using a product slightly darker than your skin tone to create shadows and define your bone structure. It helps to sculpt your face, minimizing certain areas while enhancing others.
- Bronzer: Bronzer adds warmth and a sun-kissed glow to your complexion. It mimics the natural tan you would get from the sun, giving you a healthy and radiant look.
- Concealer: This multitasking product covers imperfections like dark circles, blemishes, and redness. It evens out skin tone and creates a flawless base for the rest of your makeup.
Step-by-Step Application Guide
Step 1: Prep Your Skin
Before applying any makeup, it’s crucial to start with a clean and moisturized face. This creates a smooth canvas for the products to adhere to and prevents them from looking cakey or uneven.
Step 2: Apply Foundation and Concealer
Apply your foundation as usual, then use concealer to cover any blemishes or dark circles. Blend both products seamlessly for a flawless base.
Step 3: Contouring for Definition
Using a contour product and an angled brush, create soft lines beneath your cheekbones, along your hairline, and on the sides of your nose. Blend these lines well for a natural-looking shadow effect.
Step 4: Bronzing for Warmth
Apply bronzer to the areas where the sun naturally hits your face – the forehead, temples, cheeks, and jawline. Use a light hand and blend well to avoid harsh lines.
Step 5: Highlighting for a Radiant Glow
Apply highlighter to the high points of your face – cheekbones, brow bone, down the bridge of your nose, and cupid’s bow. This will instantly brighten up your complexion and create a luminous finish.
Step 6: Blend, Blend, Blend!
The key to a flawless makeup application is blending. Ensure all the products are seamlessly blended into your skin, avoiding any harsh lines or demarcations.
Tips for a Flawless Finish
- Choose the Right Shades: Select shades that complement your skin tone. Opt for cool-toned contours and bronzers if you have fair skin, while warmer tones work well for darker complexions.
- Use the Right Brushes: Invest in good quality brushes specifically designed for contouring, bronzing, and highlighting.
- Less is More: Start with a small amount of product and build up gradually. It’s easier to add more than to correct an overly heavy application.
- Practice Makes Perfect: Don’t be afraid to experiment and find what works best for your face shape and desired look.
Conclusion
Mastering the art of highlight, contour, bronzer, and concealer can elevate your makeup game significantly. By following these simple steps and practicing regularly, you can achieve a flawless and sculpted look that enhances your natural beauty.
FAQs about Highlight, Contour, Bronzer, and Concealer
1. What is the difference between bronzer and contour?
Bronzer adds warmth and a sun-kissed glow, while contour creates shadows and defines your bone structure.
2. Can I use concealer as a highlighter?
While concealer can brighten certain areas, it’s not ideal for highlighting. Highlighters have light-reflecting pigments that create a luminous effect, which concealers lack.
3. What type of brush is best for blending contour?
A fluffy, angled brush is perfect for blending contour seamlessly.
4. Can I apply bronzer all over my face?
Applying bronzer all over your face can make you look muddy. Instead, focus on the areas where the sun naturally hits your face.
5. Do I need to set my makeup with powder after applying highlight, contour, and bronzer?
Setting your makeup with powder helps to lock in the products and prevent them from creasing or fading throughout the day.
For more helpful tips and tricks on highlighting and shading, check out our article on how to highlight face without highlighter. Discover the art of highlight shading on face for a sculpted and radiant look.
Need personalized advice? Contact us at 0372999996 or email us at [email protected]. You can also visit us at 236 Cầu Giấy, Hà Nội. Our team is available 24/7 to assist you.
