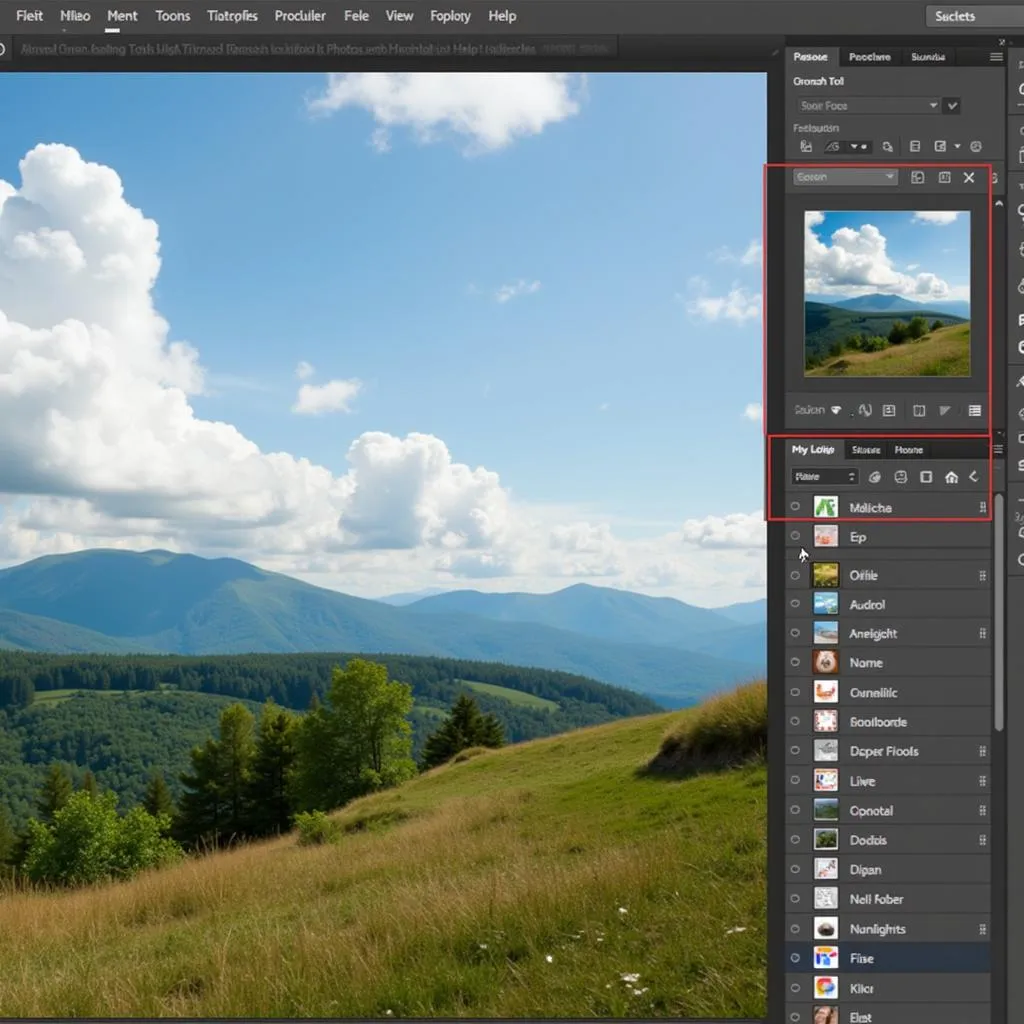
Want to make parts of your image pop? Highlighting in Photoshop is the key! Whether you’re a beginner or a seasoned pro, this guide will teach you everything you need to know about highlighting in Photoshop, from basic techniques to advanced tips and tricks.
Understanding Highlighting
Highlighting is a fundamental editing technique that involves brightening specific areas of an image to draw attention, enhance details, and create a sense of depth and dimension. By strategically applying highlights, you can transform a flat, lifeless image into a captivating masterpiece.
Choosing the Right Tool
Photoshop offers a variety of tools for highlighting. The best tool for you will depend on your desired outcome and skill level:
-
Dodge Tool: This tool is great for quick and easy highlighting. Simply choose the brush size and range, and paint over the areas you want to brighten.
-
Exposure Adjustment Layer: For more control over your highlights, use an Exposure adjustment layer. This allows you to adjust the overall exposure of your image, targeting highlights specifically.
-
Curves Adjustment Layer: Curves provide even more precise control over your highlights. You can create custom curves to target specific tonal ranges and fine-tune the brightness of your highlights.
-
Levels Adjustment Layer: Similar to Curves, Levels lets you adjust the tonal range of your image. You can use the sliders to brighten the highlights while preserving detail in the shadows and midtones.
Step-by-Step Guide to Highlighting in Photoshop
Here’s a step-by-step guide to highlighting using the Dodge Tool:
-
Open Your Image in Photoshop.
-
Duplicate Your Layer. This is a crucial step that ensures you’re working on a copy of your original image, preserving the original in case you make any mistakes.
-
Select the Dodge Tool. It’s located in the toolbar on the left side of the screen.
-
Adjust the Brush Settings. Choose a soft brush with a low opacity for a natural look. You can experiment with different brush sizes and hardnesses depending on the area you’re highlighting.
-
Set the Range to “Highlights.” This ensures that the Dodge Tool only affects the brighter areas of your image.
-
Start Painting! Gently paint over the areas you want to highlight. It’s better to use multiple light strokes than one heavy stroke to maintain control and avoid overdoing it.
-
Adjust the Opacity. If the highlights are too strong, simply lower the opacity of the layer or use the Fade command (Edit > Fade) to fine-tune the effect.
Tips for Natural-Looking Highlights
-
Less is More: Start with subtle adjustments and gradually increase the intensity until you achieve the desired effect.
-
Blend, Blend, Blend! Use a soft brush and low opacity to blend the highlights seamlessly into the surrounding areas.
-
Pay Attention to Light Sources: When highlighting, consider the direction and intensity of the light sources in your image for a realistic result.
-
Don’t Overdo It: Over-highlighting can make your image look unnatural and washed out.
Conclusion
Mastering highlighting in Photoshop allows you to take control of your images and create stunning visuals. Experiment with different tools, techniques, and settings to discover what works best for your style and unleash your creative vision.
