Achieving salon-worthy highlights at home might seem daunting, especially for dark hair. But with the right techniques and products, you can add dimension and shine to your dark locks without stepping foot in a salon. This guide will provide everything you need to know about at home highlights for dark hair, from choosing the right shade to achieving a natural-looking finish.
Understanding Your Dark Hair
Before diving into the world of DIY highlights, it’s crucial to understand how dark hair reacts to lightening. Dark hair contains more melanin, the pigment that gives hair its color. This means lifting dark hair to a lighter shade requires more processing time and can sometimes lead to unwanted brassy tones. Knowing your hair type and its history with color treatments will help you choose the right products and techniques for successful highlighting at home.
Choosing the Right Shade for Your Skin Tone
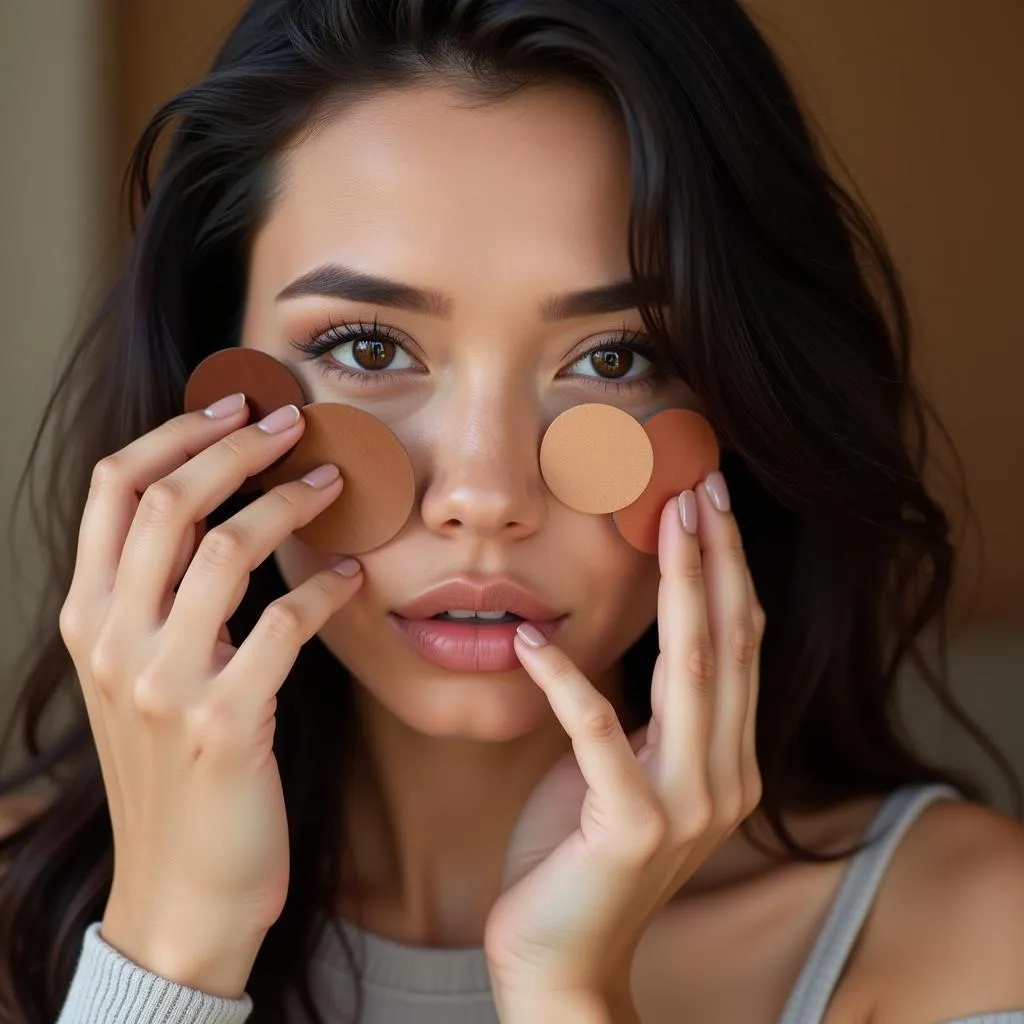
Selecting a highlight shade that complements your skin tone is crucial for a natural and flattering result. For warm skin tones, opt for golden, caramel, or honey highlights to add warmth and radiance. Cool skin tones can benefit from cool-toned highlights like ash blonde, platinum, or beige to create a striking contrast. If you’re unsure about your skin tone, consult a color chart or seek advice from a professional colorist.
Essential Tools and Products
Having the right tools and products on hand is essential for successful at home highlights. Here’s a list of must-haves:
- Hair highlighting kit: Choose a kit specifically designed for dark hair to ensure optimal lift and minimize brassiness.
- Developer: The developer strength will depend on your hair’s texture and how light you want your highlights to be.
- Gloves: Protect your hands from staining and irritation.
- Mixing bowl and brush: Use a non-metallic bowl and brush for mixing the bleach and developer.
- Foils: Aluminum foils are essential for separating the highlighted sections and ensuring even processing.
- Tail comb: Use a tail comb to create precise sections and weave out strands for highlighting.
- Old towel: Protect your clothes from any spills or splatters.
- Color-safe shampoo and conditioner: Maintain your highlights’ vibrancy and prevent color fading.
Step-by-Step Guide to At Home Highlights for Dark Hair
Once you’ve gathered all the necessary tools and products, follow these steps for flawless at home highlights:
- Prepare your hair: Wash your hair 24-48 hours before highlighting to allow natural oils to build up, protecting your scalp during the bleaching process.
- Section your hair: Divide your hair into four sections using clips to ensure you apply the bleach evenly.
- Mix the bleach and developer: Follow the instructions on your highlighting kit carefully.
- Apply the bleach: Starting with the bottom sections, use the tail comb to weave out thin strands of hair for highlighting. Apply the bleach mixture from root to tip, ensuring each strand is evenly coated. Fold the foil to secure the highlighted section.
- Process the highlights: Allow the bleach to process according to the instructions on the kit. The processing time will vary depending on your hair’s texture and the desired level of lift. Check the highlights regularly to monitor their progress.
- Rinse and condition: Once the highlights have reached your desired shade, rinse your hair thoroughly with cool water and apply a color-safe conditioner.
- Style as usual: Style your hair as desired and enjoy your new highlights!
Tips for Natural-Looking Highlights
- Start small: If you’re new to highlighting your own hair, start with a few subtle highlights around your face and gradually add more as you become more confident.
- Vary the thickness of your highlights: For a more natural look, alternate between thin and thick strands of hair when highlighting.
- Focus on the mid-lengths and ends: Applying bleach to the roots can create a harsh line. Instead, concentrate on highlighting the mid-lengths and ends of your hair for a sun-kissed effect.
- Tone if necessary: If your highlights turn out too brassy, use a toner to neutralize the unwanted warm tones.
Maintaining Your Highlights
Proper maintenance will keep your highlights looking fresh and vibrant between touch-ups. Here are some tips:
- Use color-safe hair products: Sulfates and other harsh chemicals can strip away color, so opt for shampoos and conditioners formulated for color-treated hair.
- Deep condition regularly: Keep your hair hydrated and healthy with a weekly deep conditioning treatment.
- Protect your hair from the sun: UV rays can fade color, so wear a hat or use a hair product with UV protection when spending time outdoors.
- Touch up your roots every 6-8 weeks: Depending on how fast your hair grows, you’ll need to touch up your roots every 6-8 weeks to maintain a blended look. You can find helpful tips on maintaining your highlights by checking out our highlighted fringe hairstyles tutorial.
Conclusion
Achieving stunning at home highlights for dark hair is achievable with the right knowledge and techniques. Remember to choose the right shade for your skin tone, gather the essential tools and products, and follow the step-by-step guide carefully. With a little practice and patience, you can achieve salon-worthy results without the hefty price tag. For those seeking a sun-kissed glow, exploring sun kissed highlights might be a fantastic option to consider.
