Highlighting your mouse pointer can be incredibly helpful, especially if you’re creating presentations, tutorials, or just want to make your cursor more visible. This guide will walk you through several methods to highlight your mouse pointer effectively, ensuring everyone can easily follow your every move.
Built-in Accessibility Features
Both Windows and macOS offer built-in accessibility features that can help highlight your mouse pointer:
Windows:
- Open Settings: Navigate to the Start Menu and click on the gear icon to open Windows Settings.
- Access Ease of Access: Select “Ease of Access” from the Settings menu.
- Choose Mouse Pointer: In the left sidebar, click on “Mouse pointer” to access customization options.
- Adjust Size and Color: Here, you can increase the pointer size, change its color to a high-contrast option, or even add a pointer trail for enhanced visibility.
macOS:
- Access System Preferences: Click on the Apple logo in the top left corner of your screen and select “System Preferences.”
- Navigate to Accessibility: Find and click on the “Accessibility” option.
- Customize Cursor Size and Color: Under the “Display” tab, you’ll find sliders to adjust cursor size and choose from various pointer colors for better visibility.
Third-Party Software Options
While built-in features provide basic highlighting, third-party software offers more advanced customization:
- Cursor Highlighter: This software allows you to add animated circles and visual effects around your cursor, making it stand out during presentations or recordings.
- Presentation Assistant: Ideal for educators and presenters, this tool not only highlights your mouse pointer but also includes features like on-screen annotations, spotlight effects, and magnified areas.
Highlighting Mouse Pointer during Screen Recordings
If you’re recording your screen for tutorials or presentations, ensure your chosen recording software includes a mouse highlighting feature. Most popular screen recording tools offer this functionality.
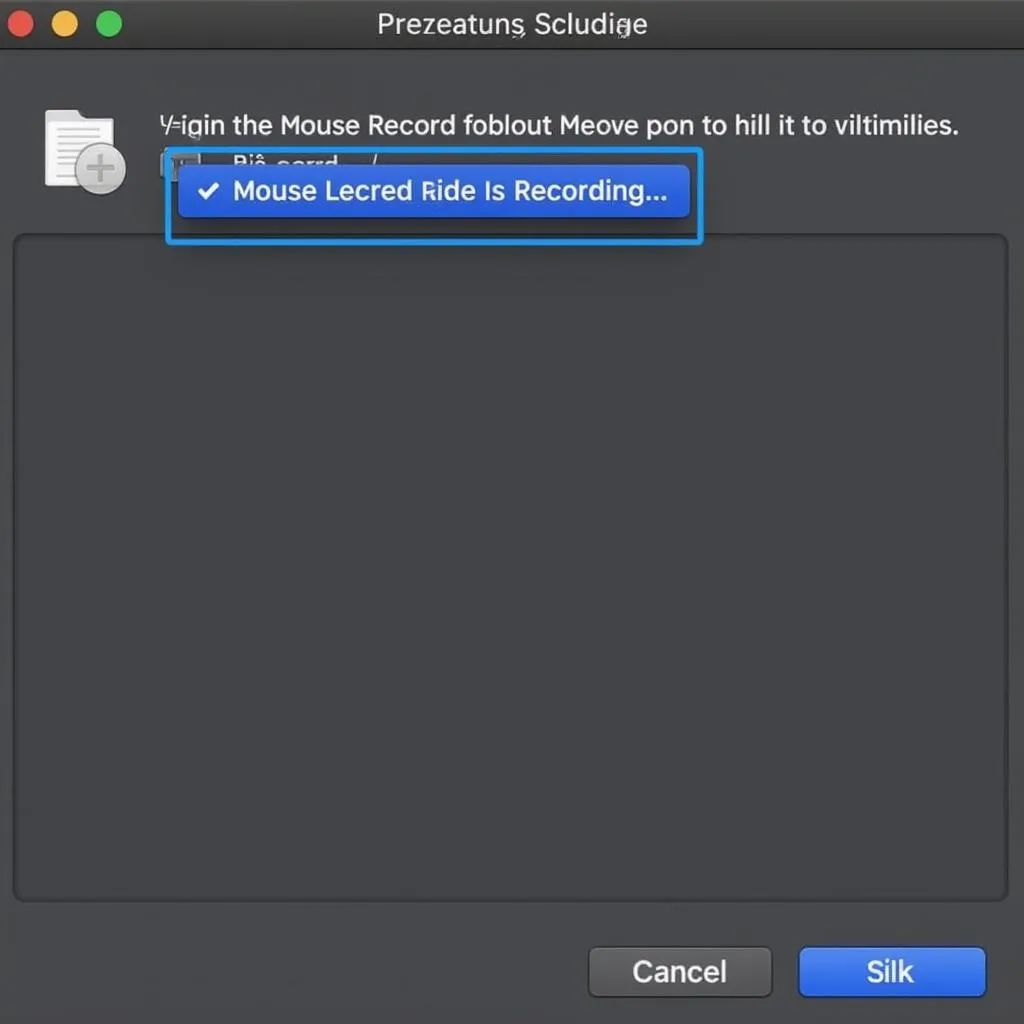 Highlighted Mouse Pointer during Screen Recording
Tips for Effective Mouse Pointer Highlighting:
- Choose a High-Contrast Color: Opt for a pointer color that contrasts sharply with your typical background colors to ensure maximum visibility.
- Consider Your Audience: If you’re presenting to a large audience or people with visual impairments, larger pointer sizes and more pronounced highlighting effects are recommended.
- Don’t Overdo It: While highlighting is beneficial, excessive effects can be distracting. Choose a balance between visibility and professionalism.
Conclusion
Highlighting your mouse pointer is a simple yet powerful way to improve clarity and engagement, especially during presentations, online meetings, or when creating tutorials. By utilizing the methods and tips outlined in this guide, you can ensure your cursor is easily visible, making your digital interactions smoother and more effective. If you require any assistance with highlighting your mouse pointer, don’t hesitate to contact us at Phone Number: 0372999996, Email: [email protected] Or visit us at: 236 Cầu Giấy, Hà Nội. Our customer support team is available 24/7.